Step-by-Step Guide: Change Your Apple ID Email
April 15, 2024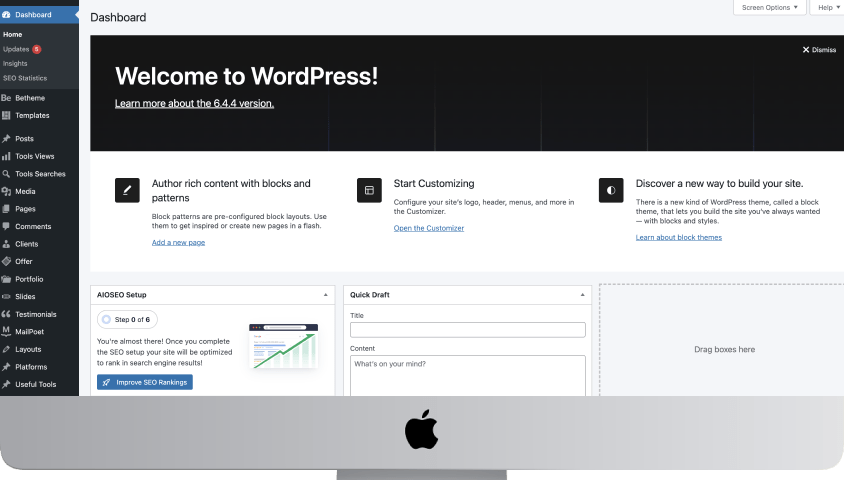
Installing WordPress locally is very important, as it allows you to easily debug and develop your WordPress website without the need of constantly uploading the files to GitHub or your hosting provider.
In this post, we will cover the installation process step by step.
1. Install XAMPP (Local Server & Database)
The first step in this process is to install a tool called XAMPP, this tool allows you to have a local server and database to test and develop on.
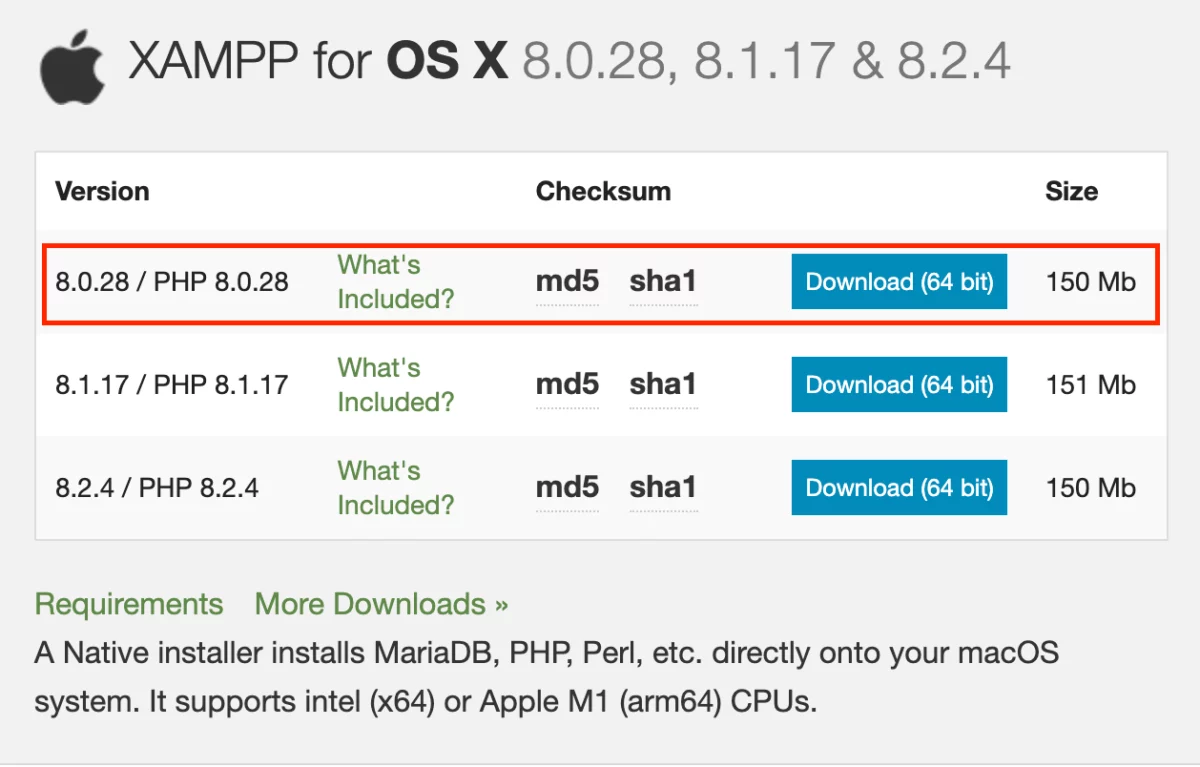
- Go to their official website.
- Choose your operating system, we will choose the MacOS version for this example.
- We will download the first option.
After downloading the app on your PC, you will need to run the installation wizzard and install the app. Once the installation is complete, you need to launch the app.
- Launch XAMPP.
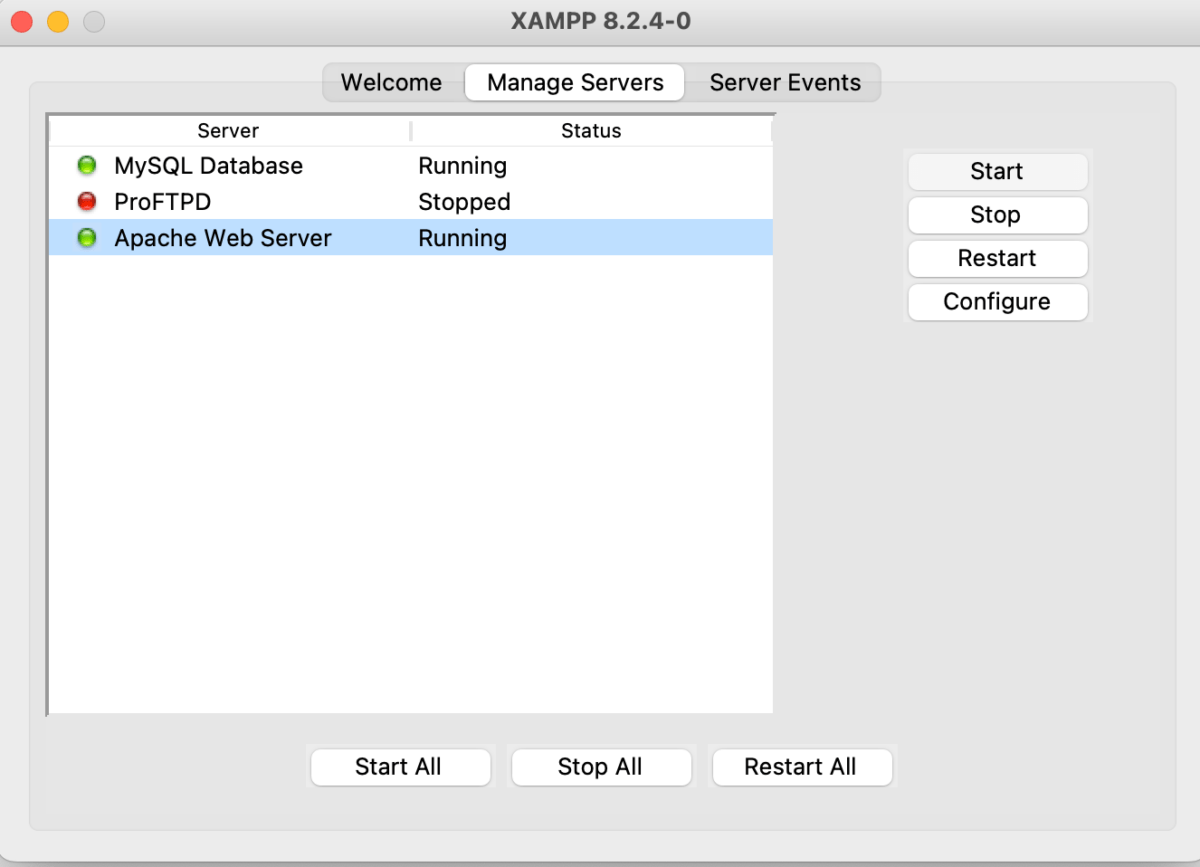
- From the welcome window screen, click on the “Manage Servers” tab.
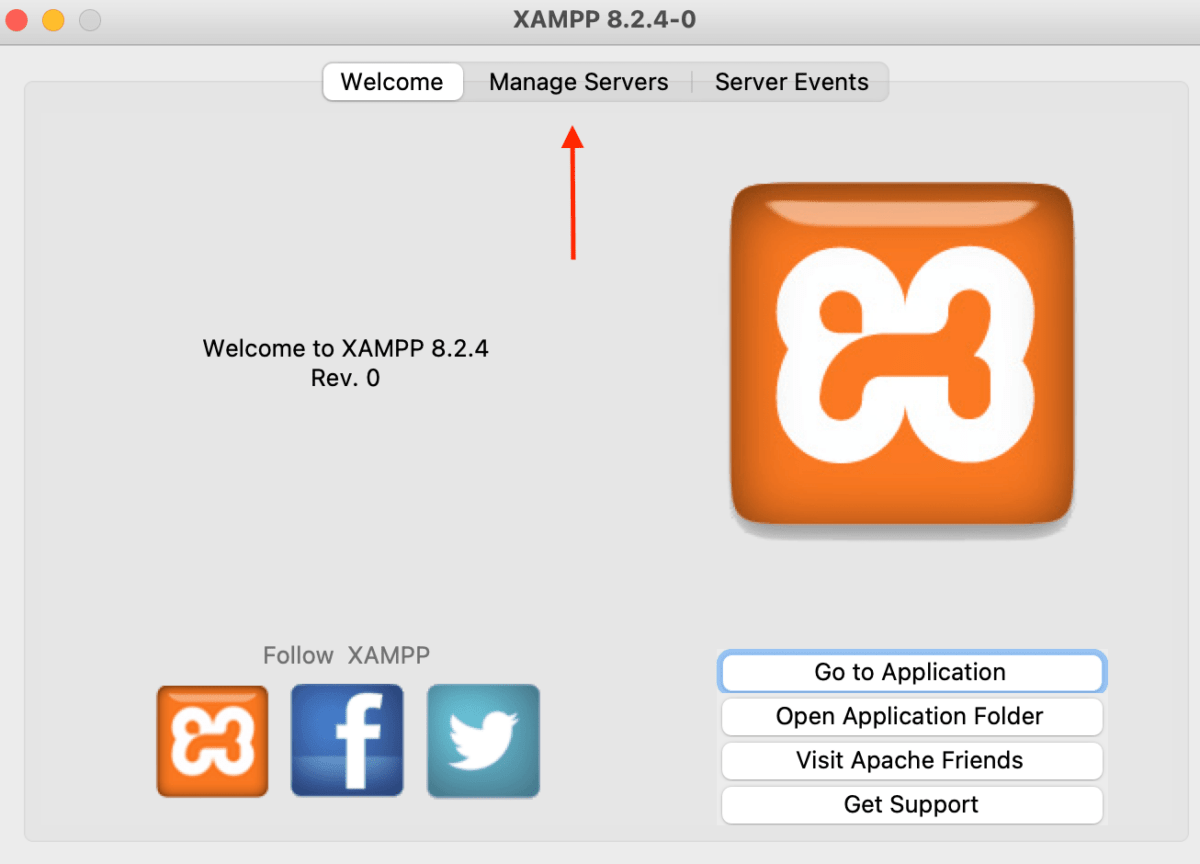
- Once the tab opens, select “MySQL Database” and click on the “Start” button on the right.
- Select “Apache Web Server” and click on the “Start” button on the right.
- Once started, the both of them should have a green light to their left.
Now that we have a running local server and database, we are ready to install WordPress.
2. Install WordPress
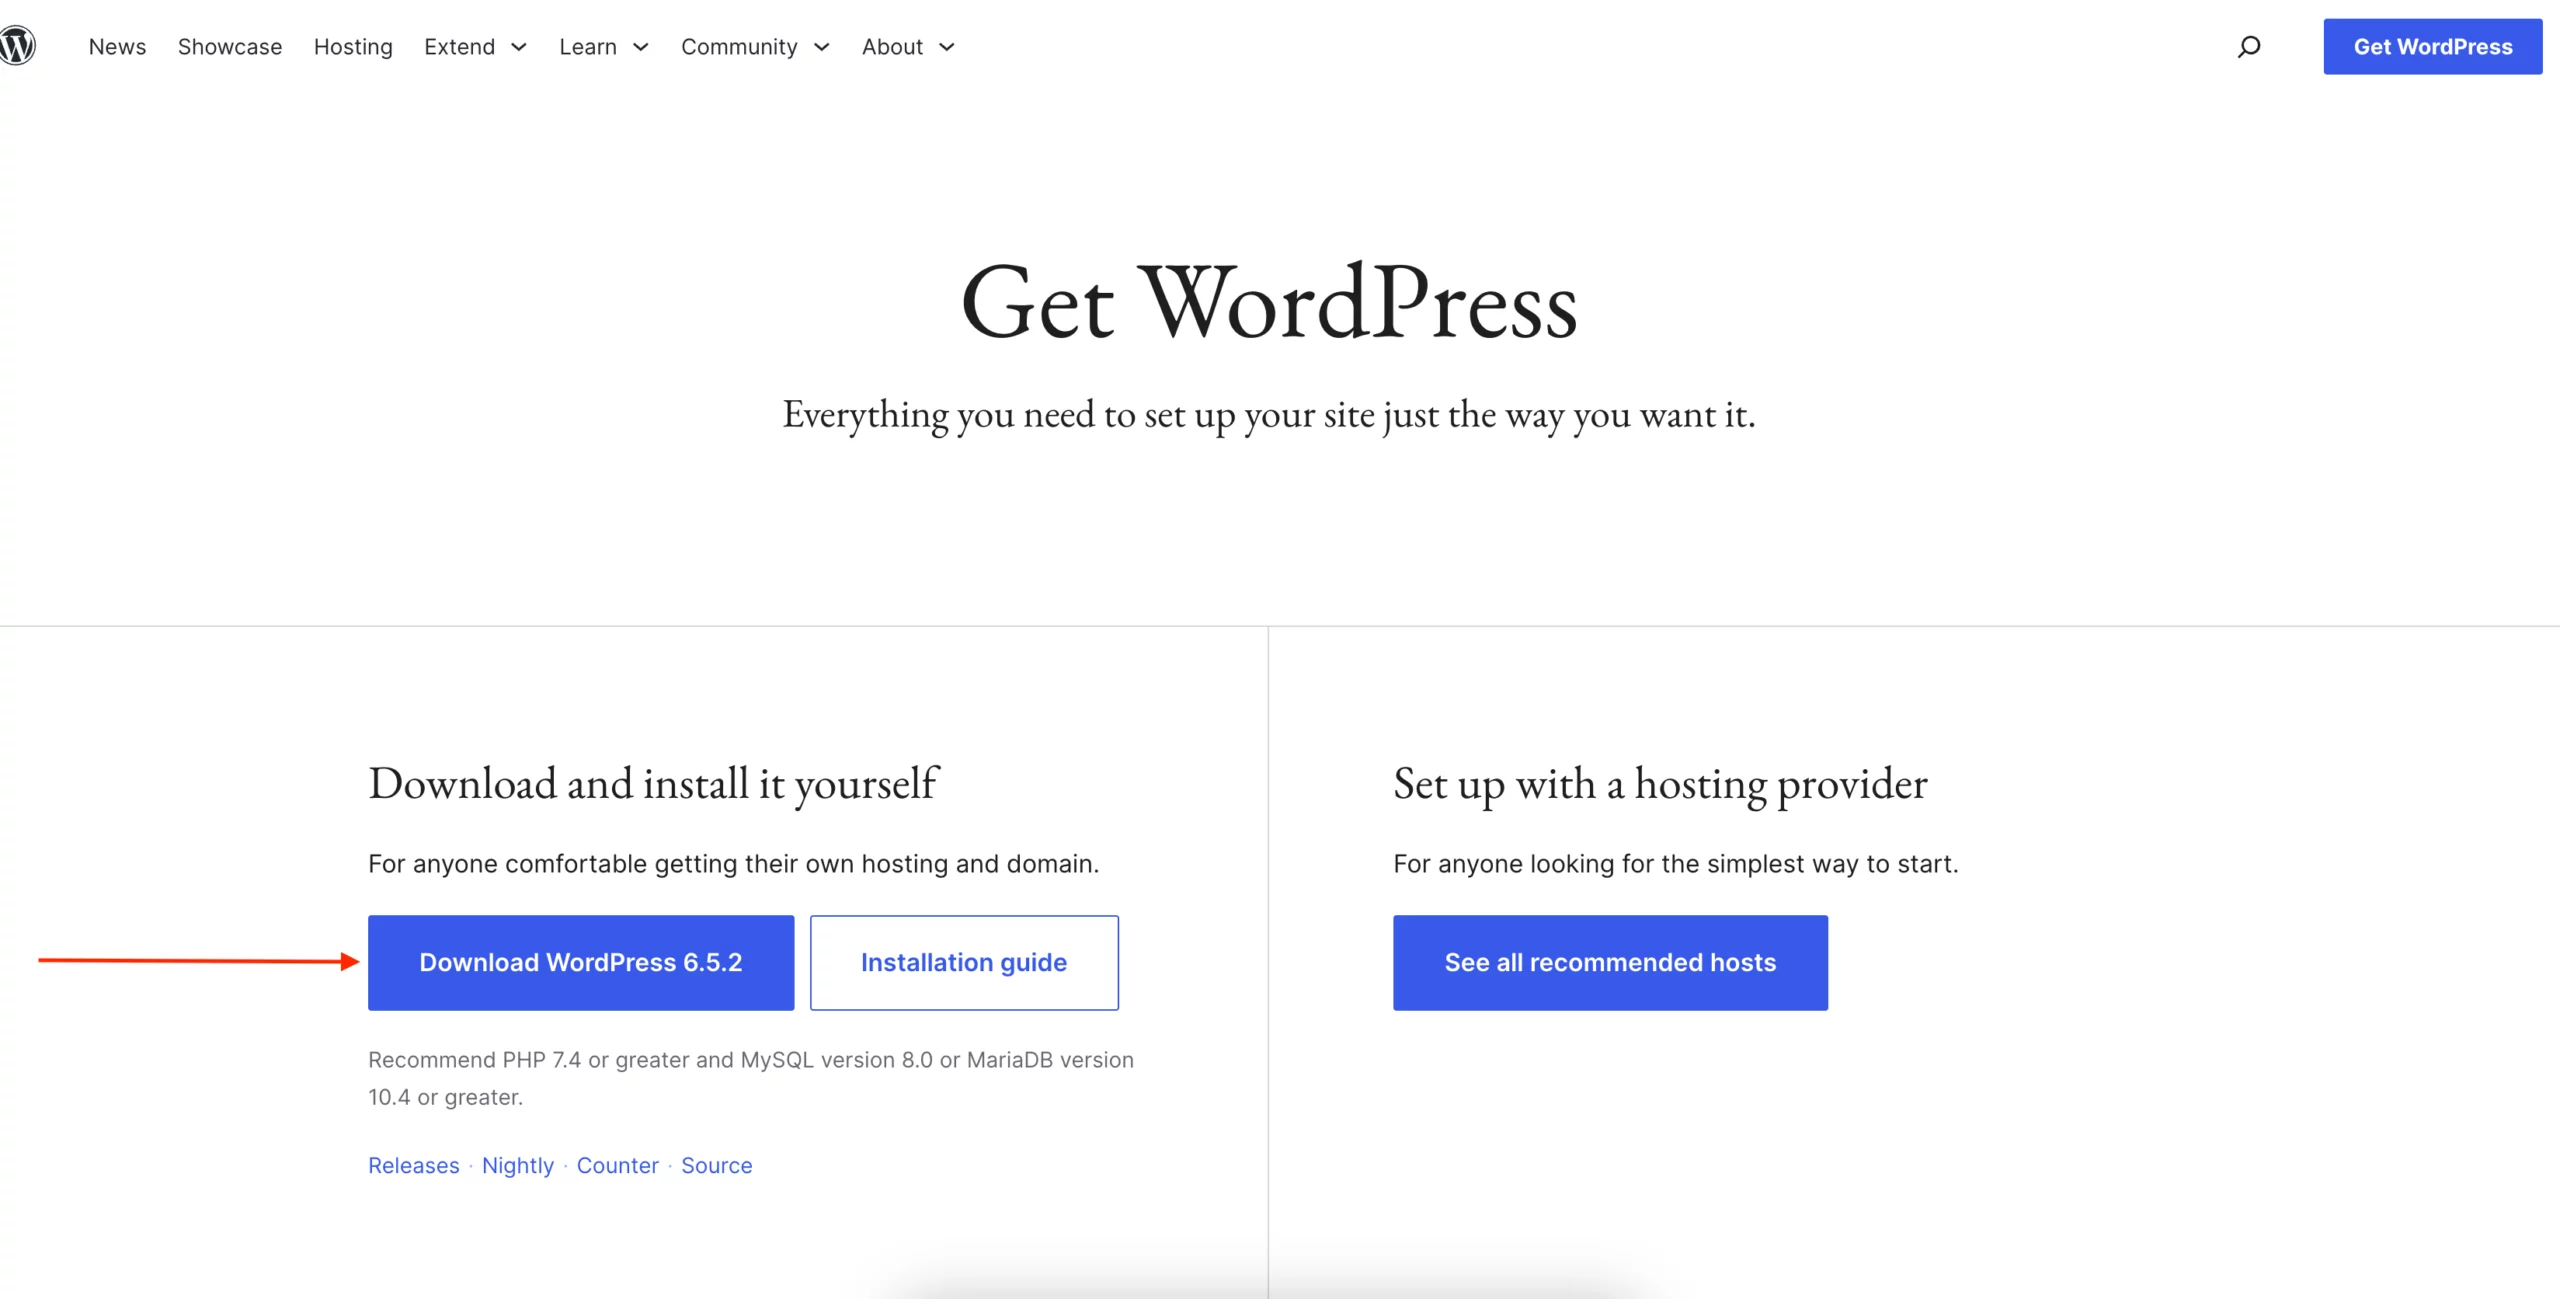
In order to install WordPress, you need to go to their official website and click on the “Download WordPress” button with the version number written on it.
Once the ZIP file is downloaded, you need to extract and move it to the XAMPP directory.
- Open Finder on your Mac.
- Go to Applications > XAMPP > htdocs.
- Move the extracted WordPress folder here.
- Open your browser.
- In the address bar, write http://localhost/FolderName, if my folder name is utilitips then it would be http://localhost/utilitips.
After going to this address, you will start WordPress installation wizzard.
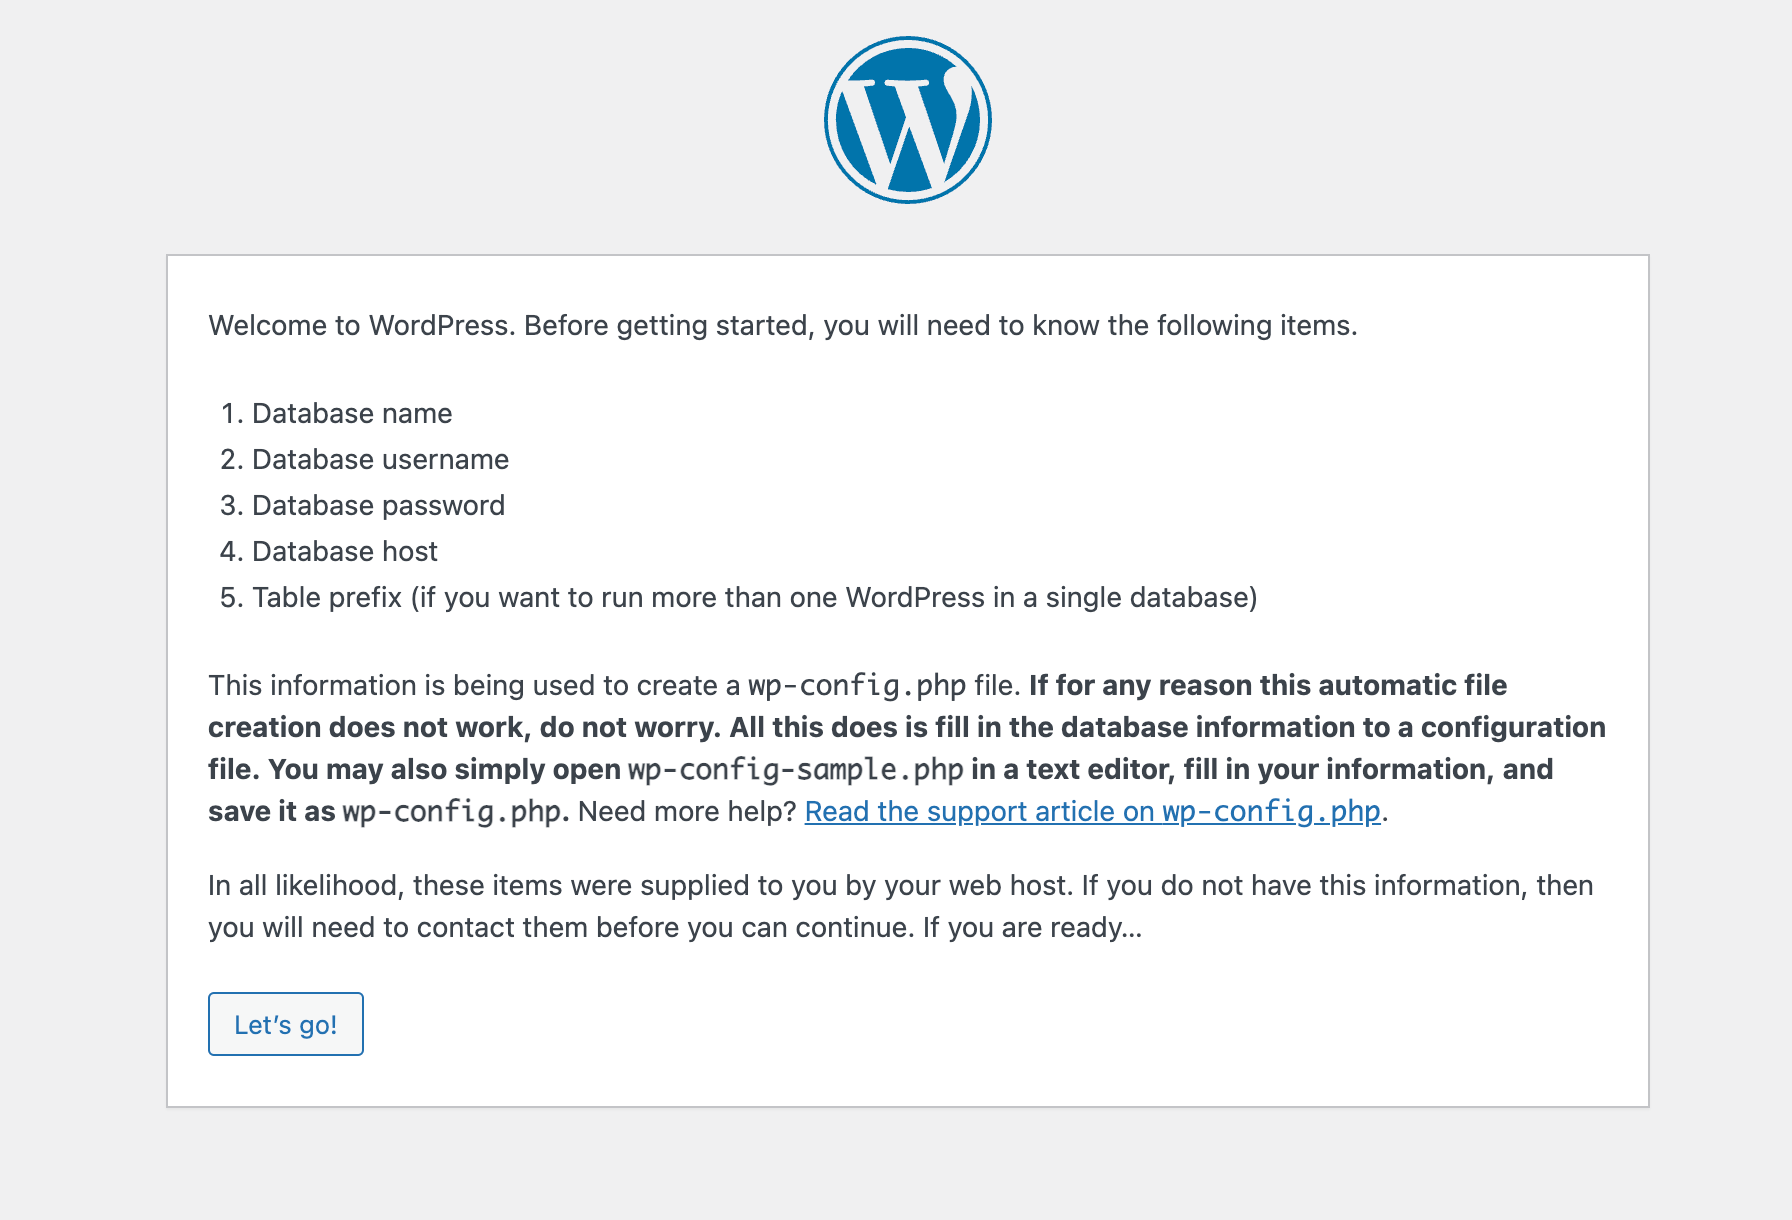
From this screen, you need to click on the “Let’s go!” button.
This step now asks you to enter the database information of your project, but we don’t have a database yet so you need to follow these steps to create one:
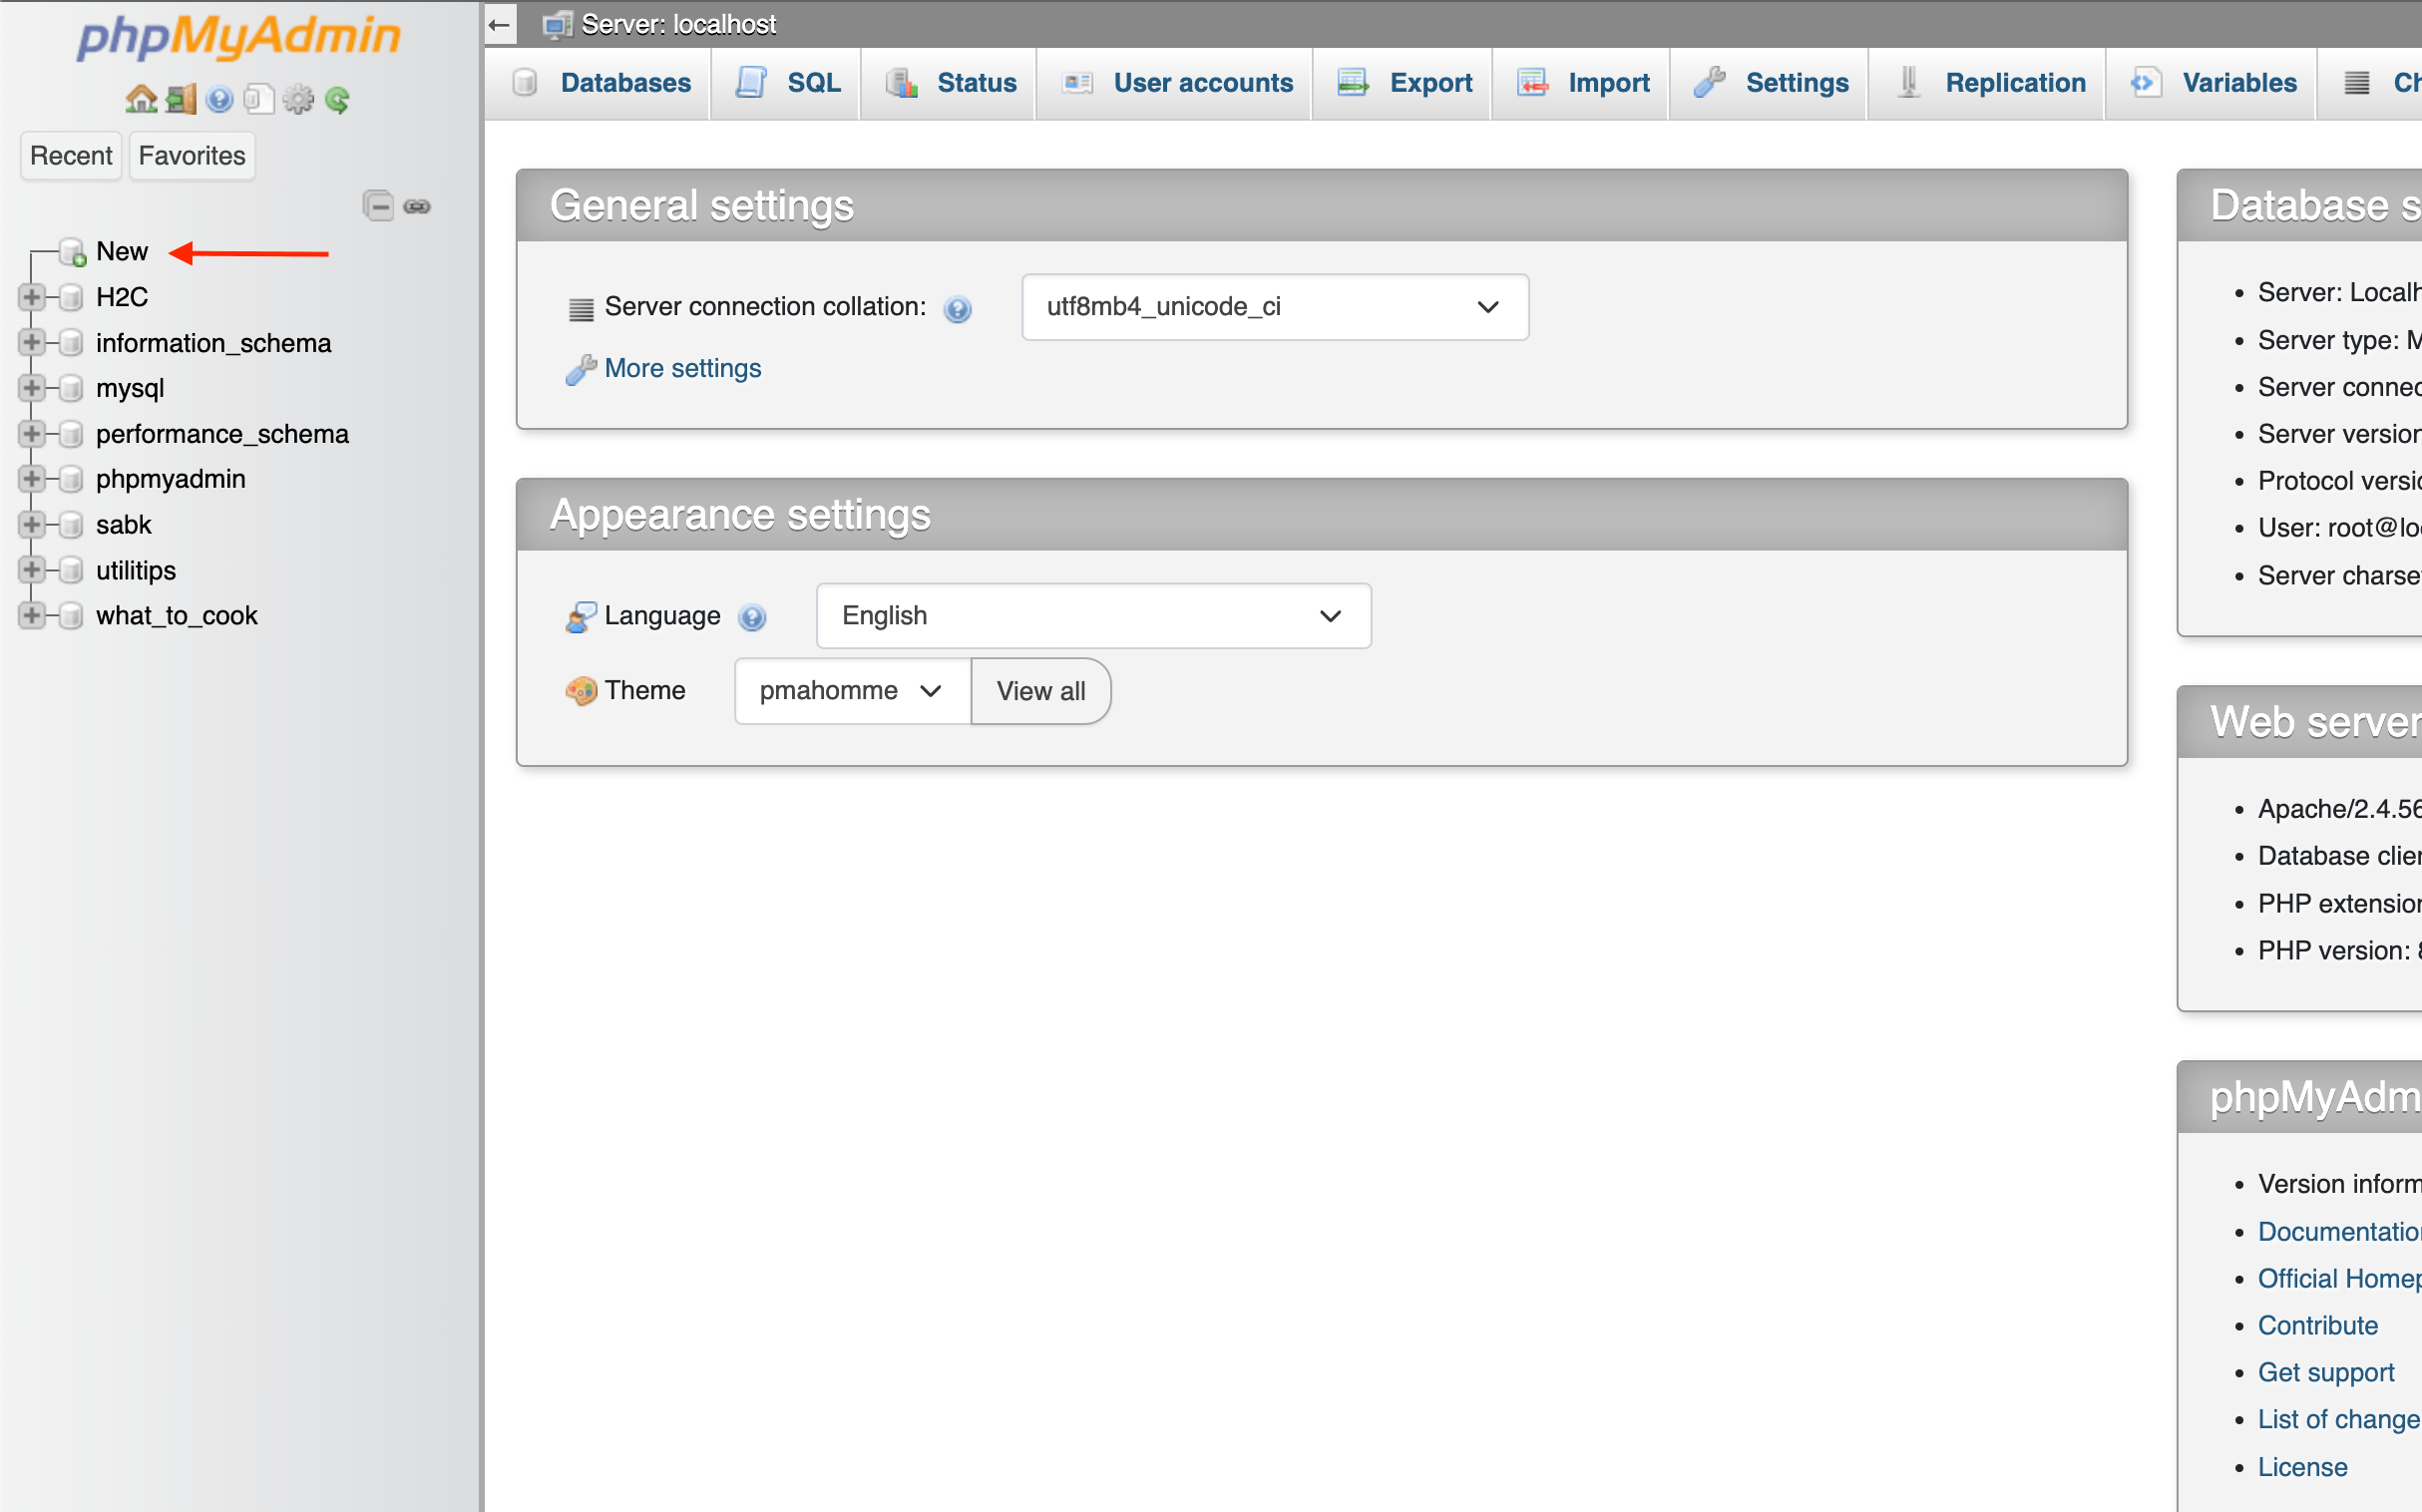
- Go to http://localhost/phpmyadmin.
- Click on the “New” button.
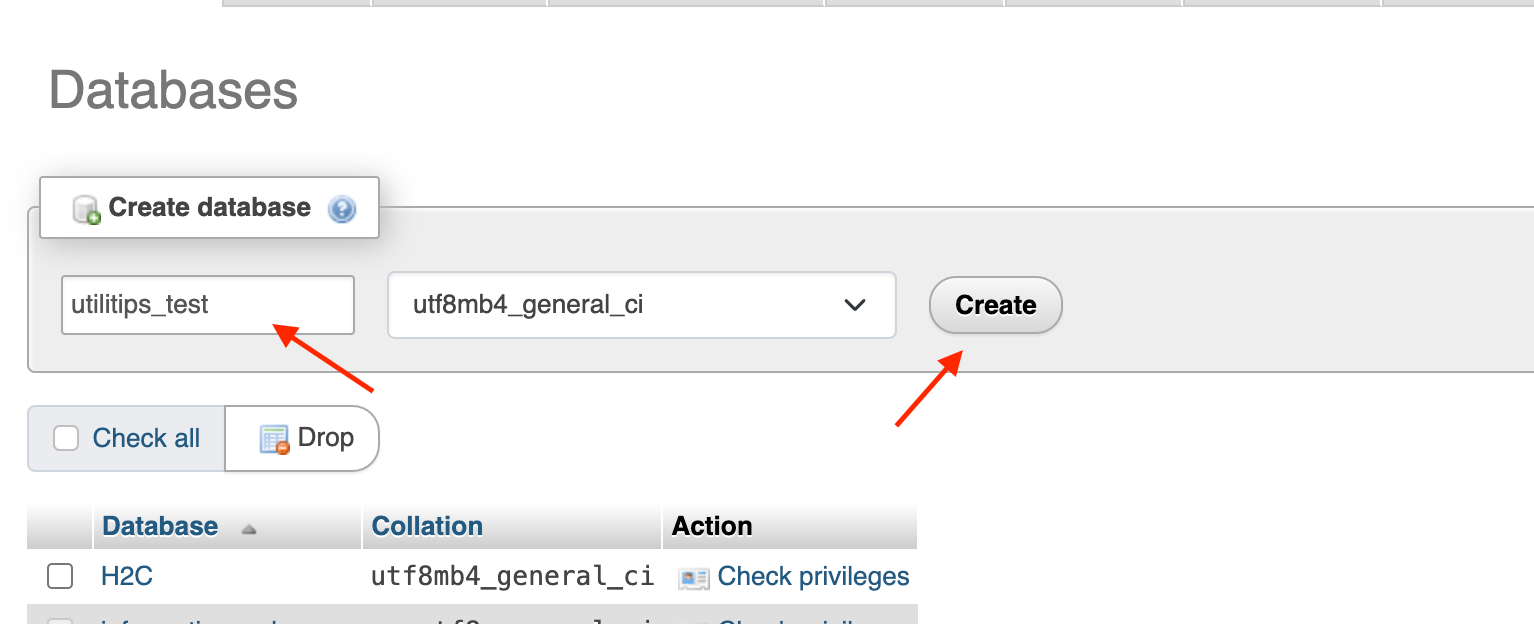
- Choose a name for your database and click on the “Create” button.
Now you have successfully created a database, but you will need to create a user to access this database.
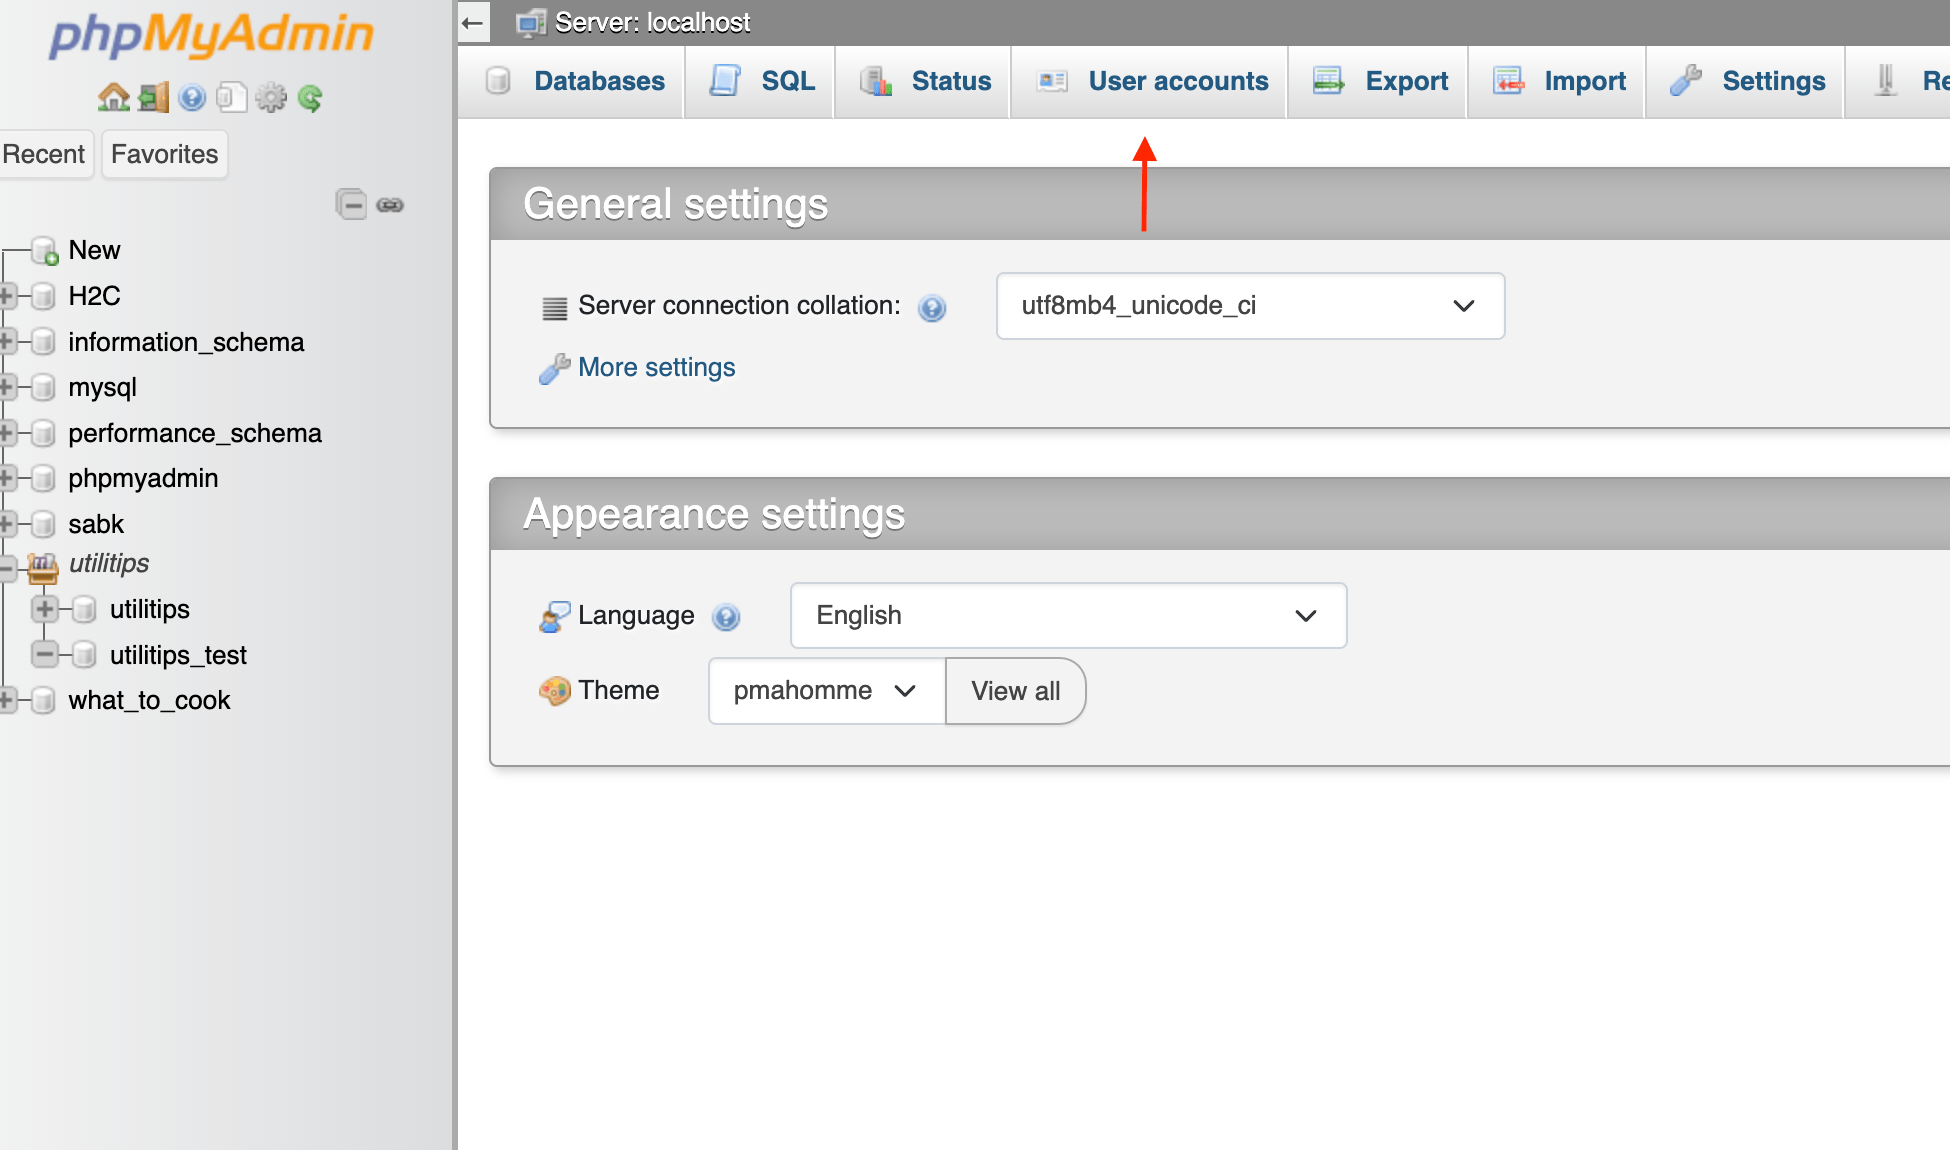
- Click on the home icon on the top left.
- Click on “User accounts”.
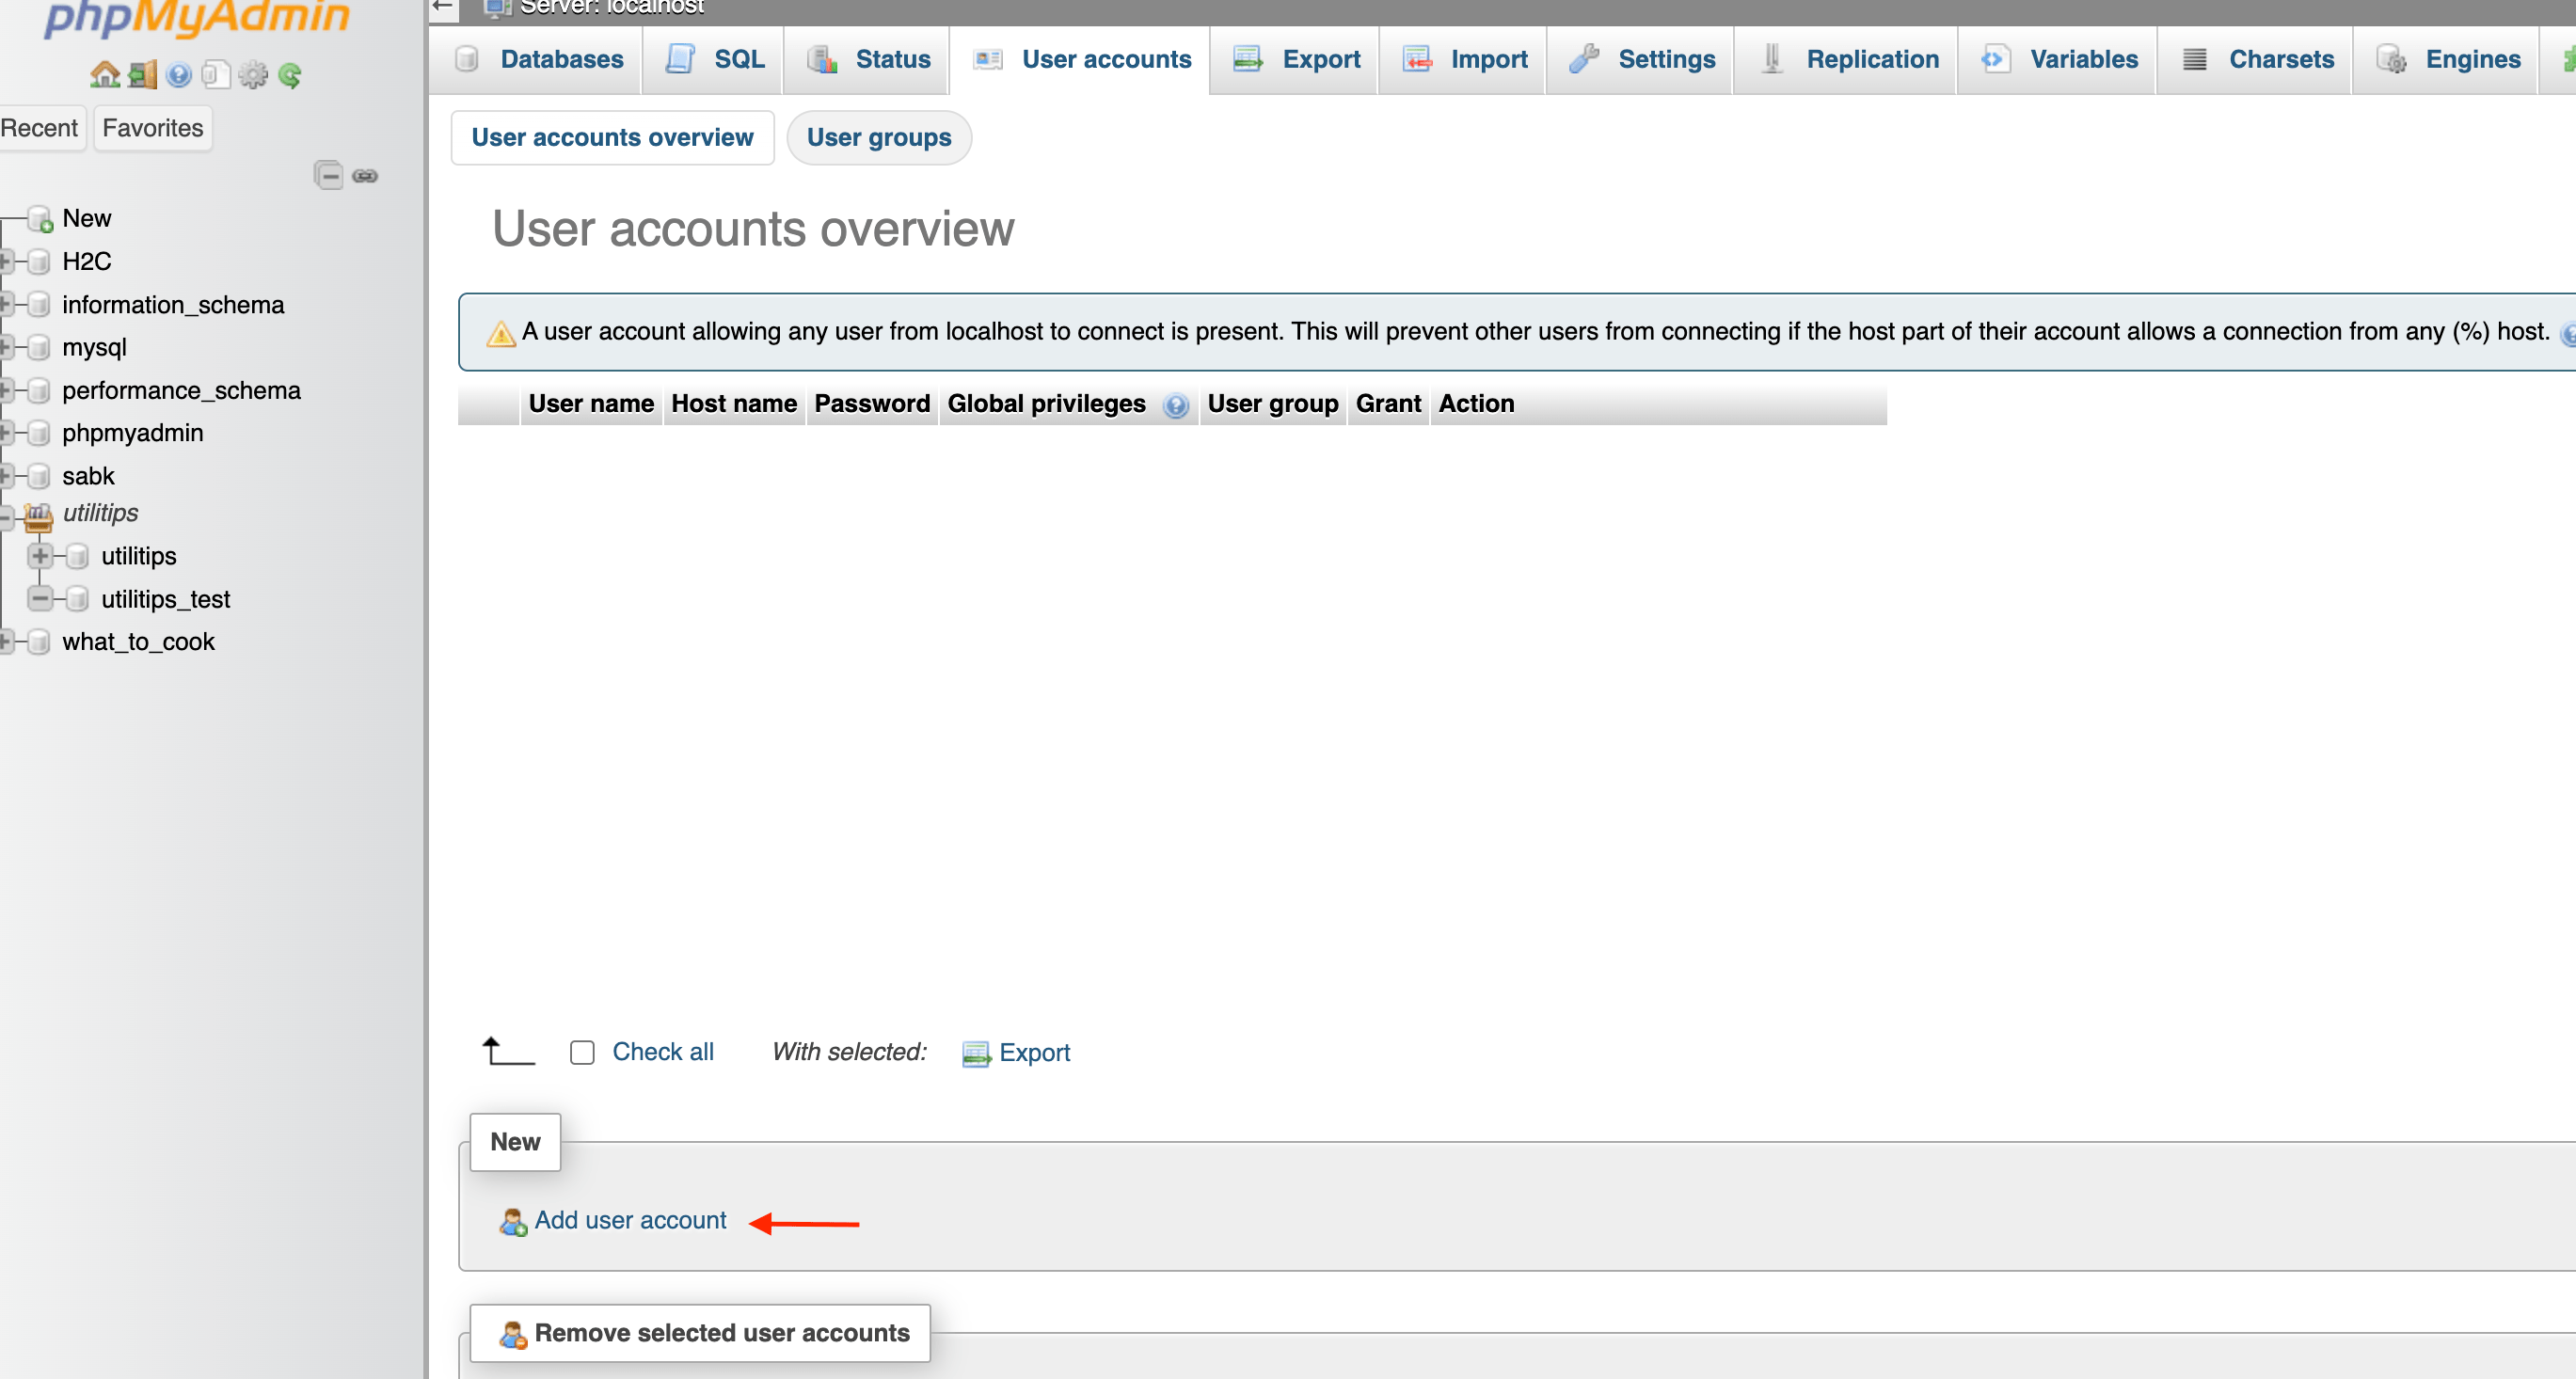
- Click on “Add user account”.
- Choose a username.
- In the “Host Name” field, it’s important to choose “Local” and write “localhost”.
- Choose any password.
- In the “Global privileges” section, click on “Check all”.
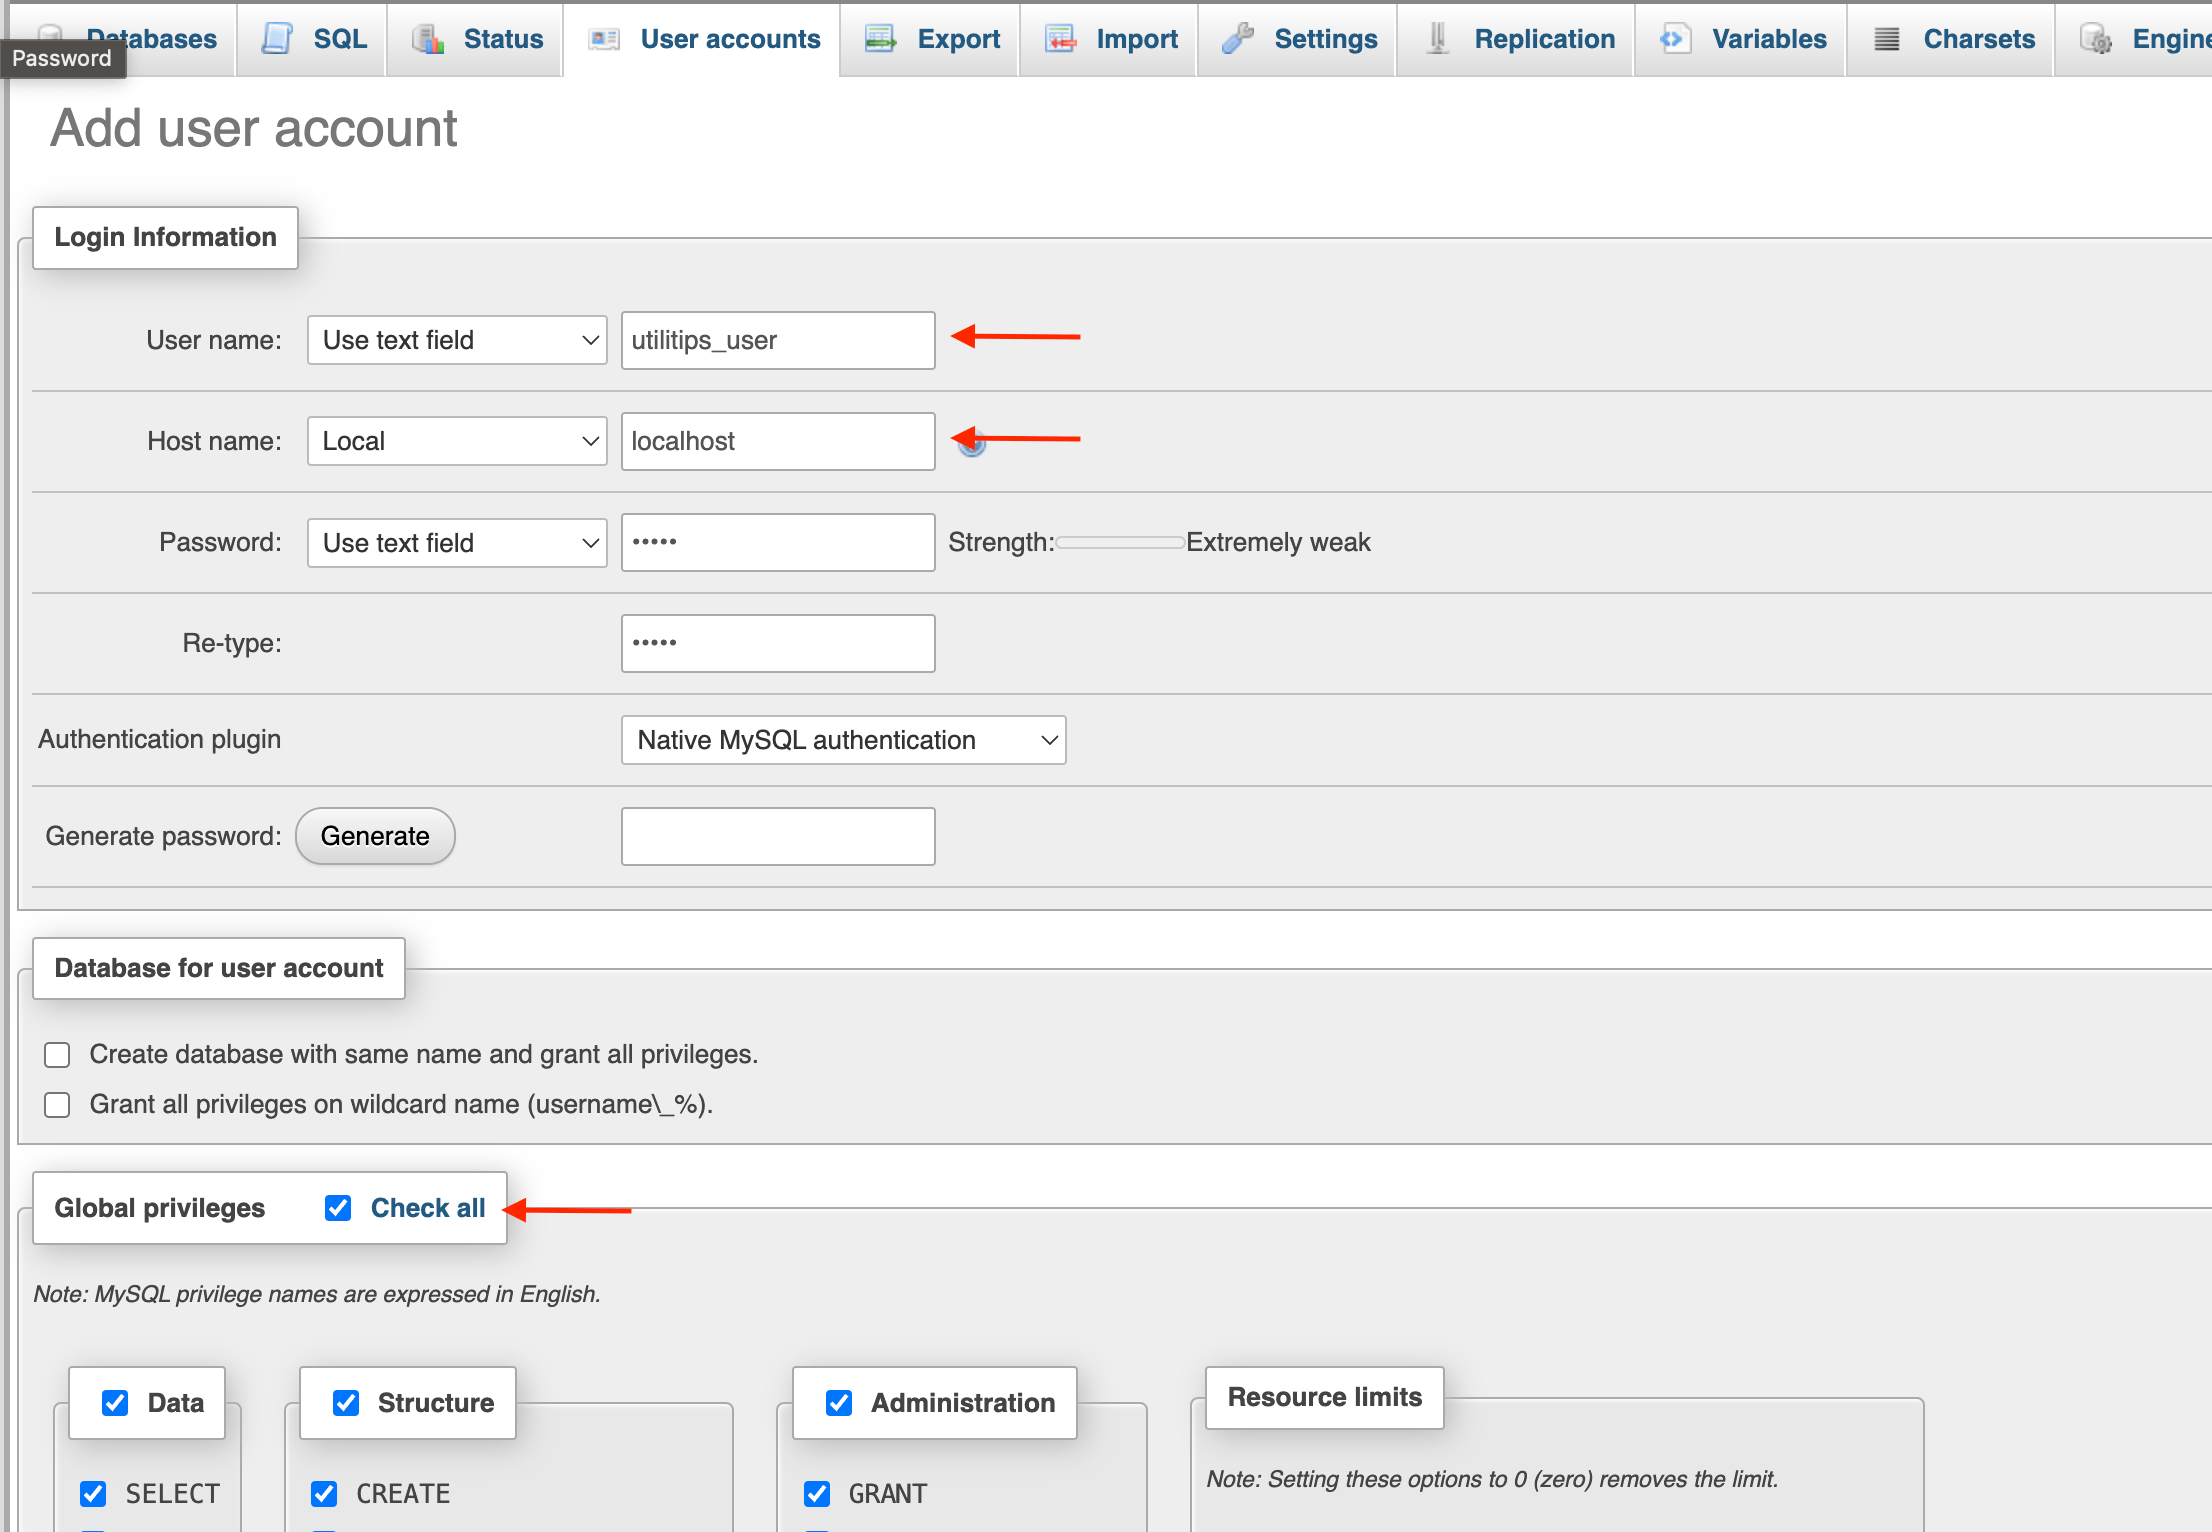
- Finally, scroll all the way down and click on the “Go” button to create the user.
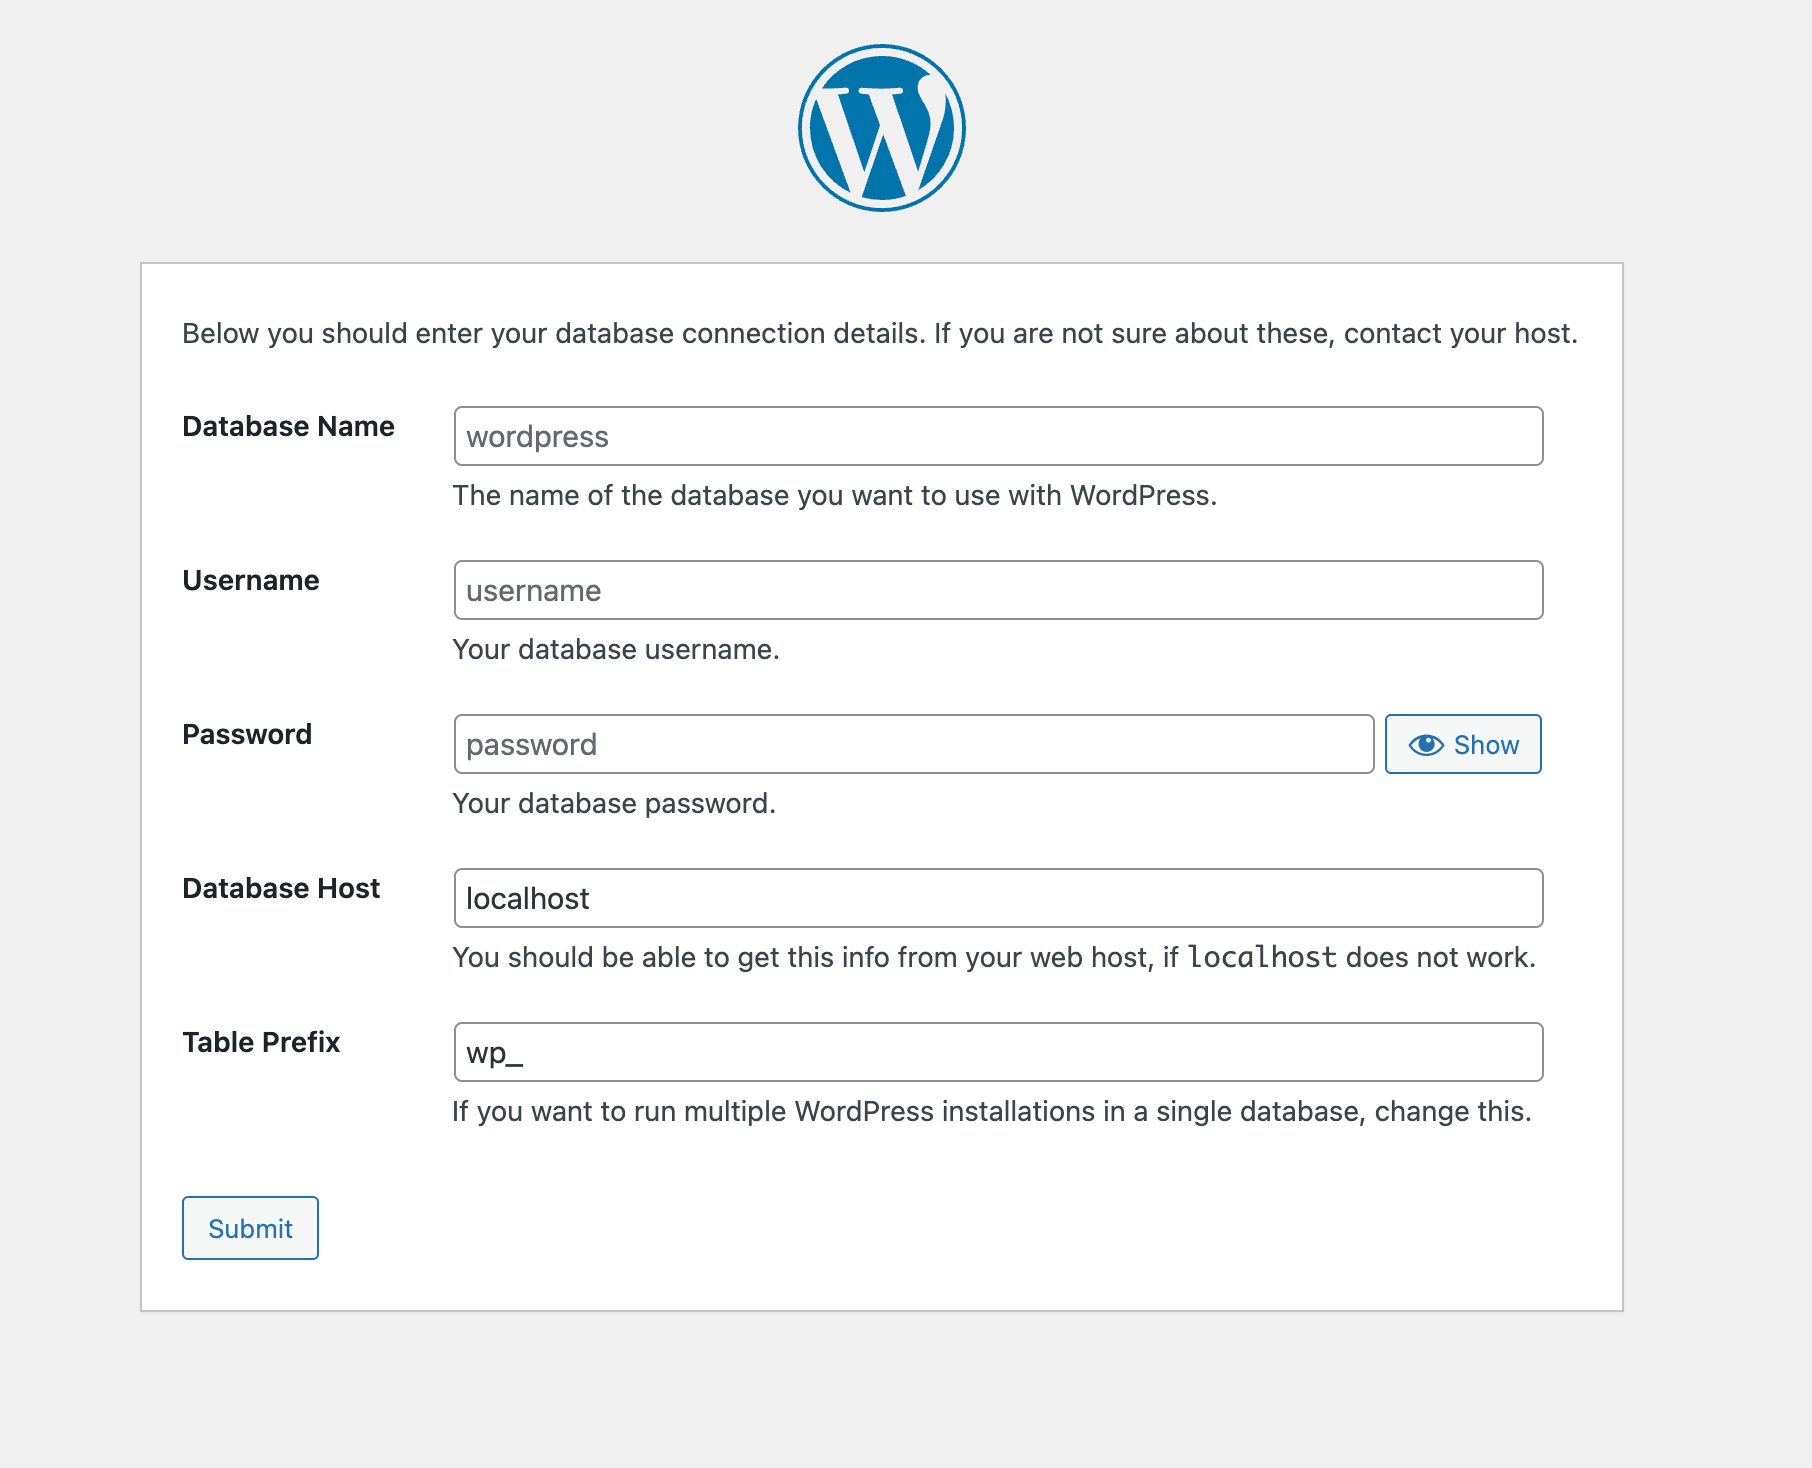
After creating a database and a user, you will need to go back to the WordPress installation screen. In this screen, you will fill the following information:
- Database Name: utilitips_test in our case.
- Username: utilitips_user in our case.
- Password: The password that I chose.
- Database Host: localhost in our case.
- Table Prefix: Leave it as it is.
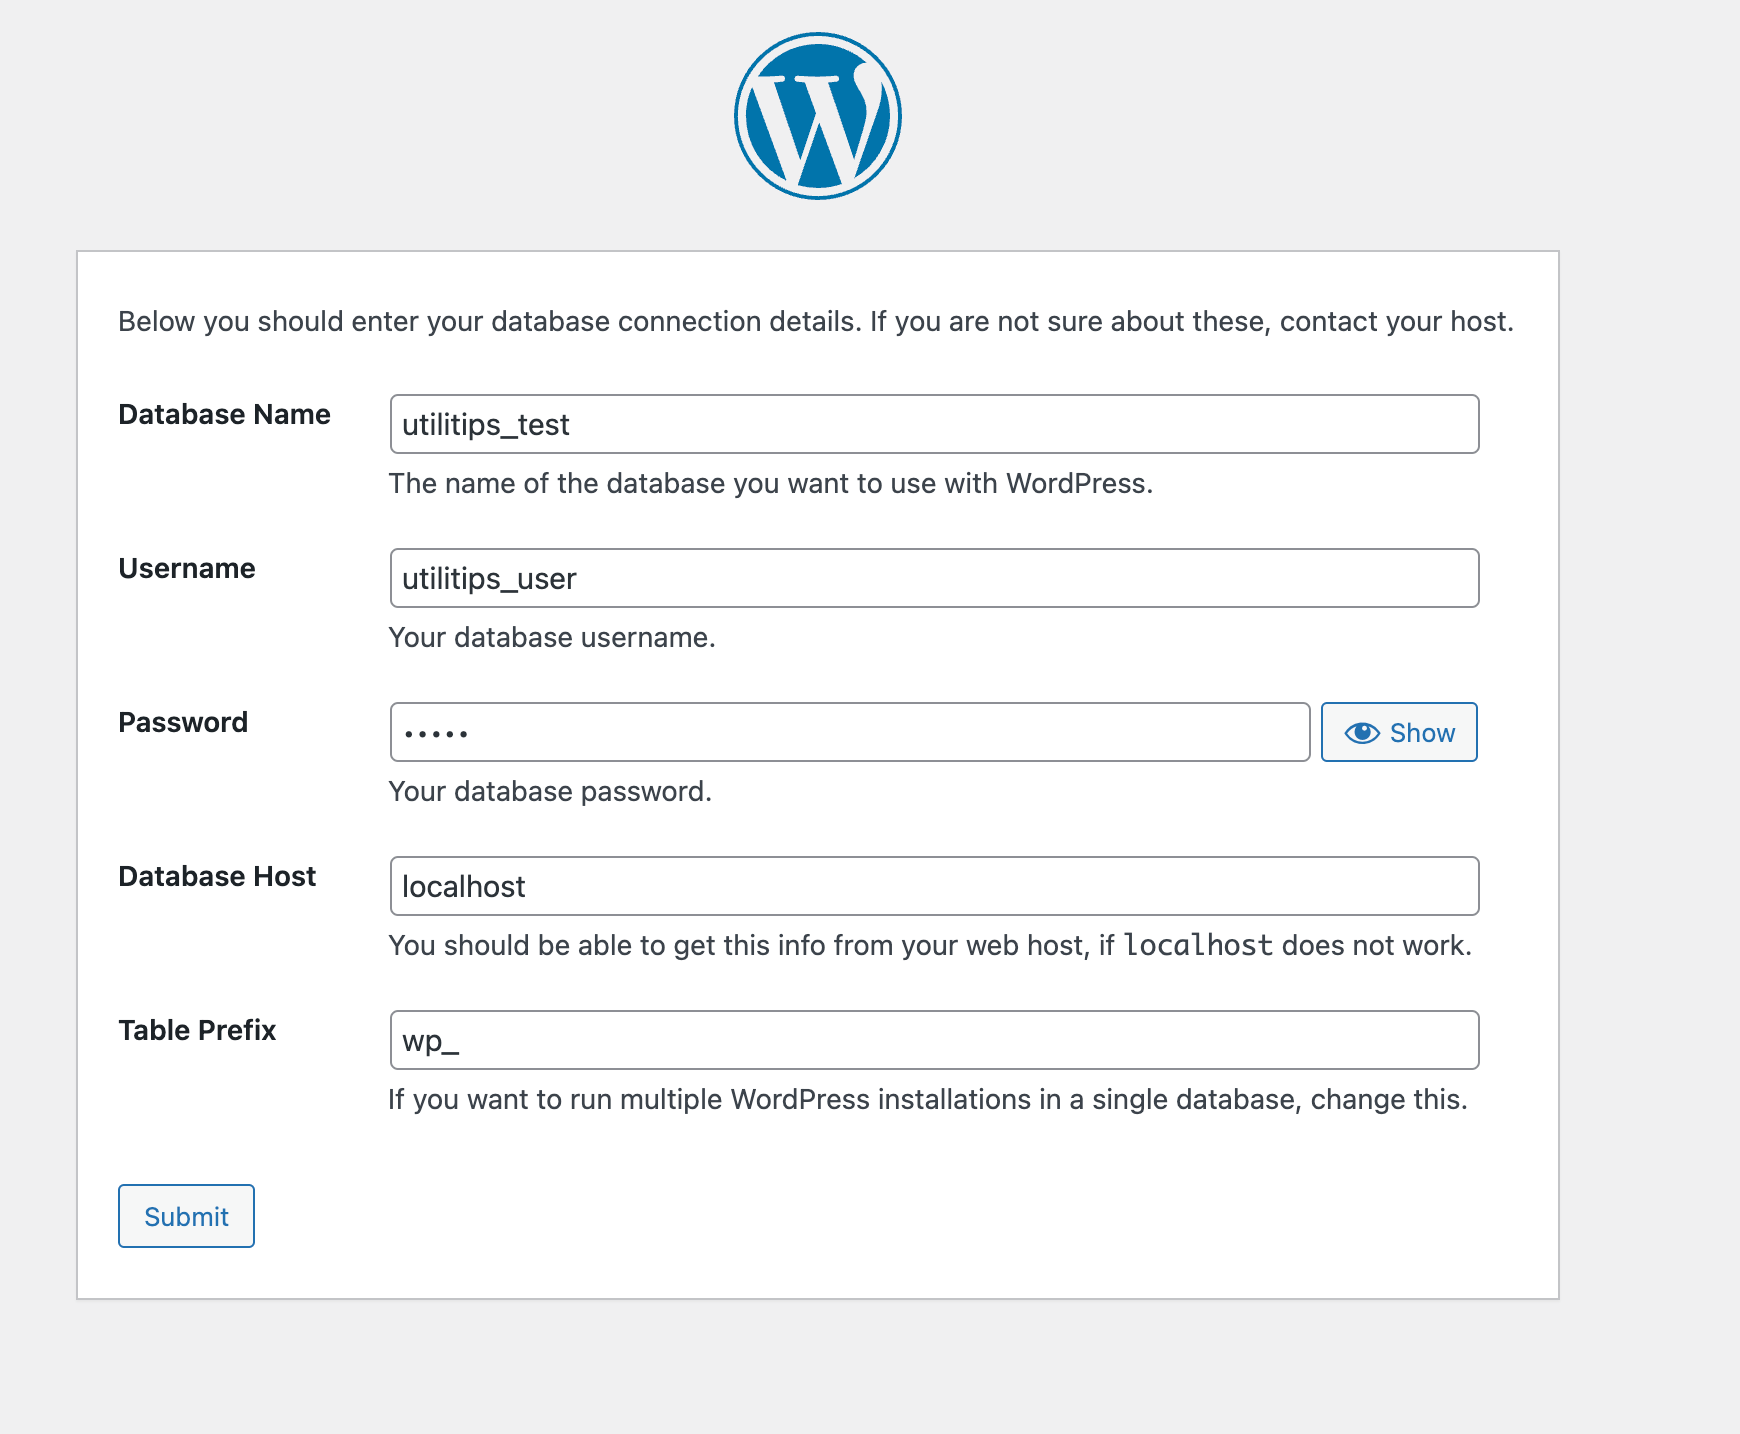
And finally, click on the “Submit” button.
The installation will start right after, but you may face an issue where the installer can’t find the “wp-config.php” file, like the image below.
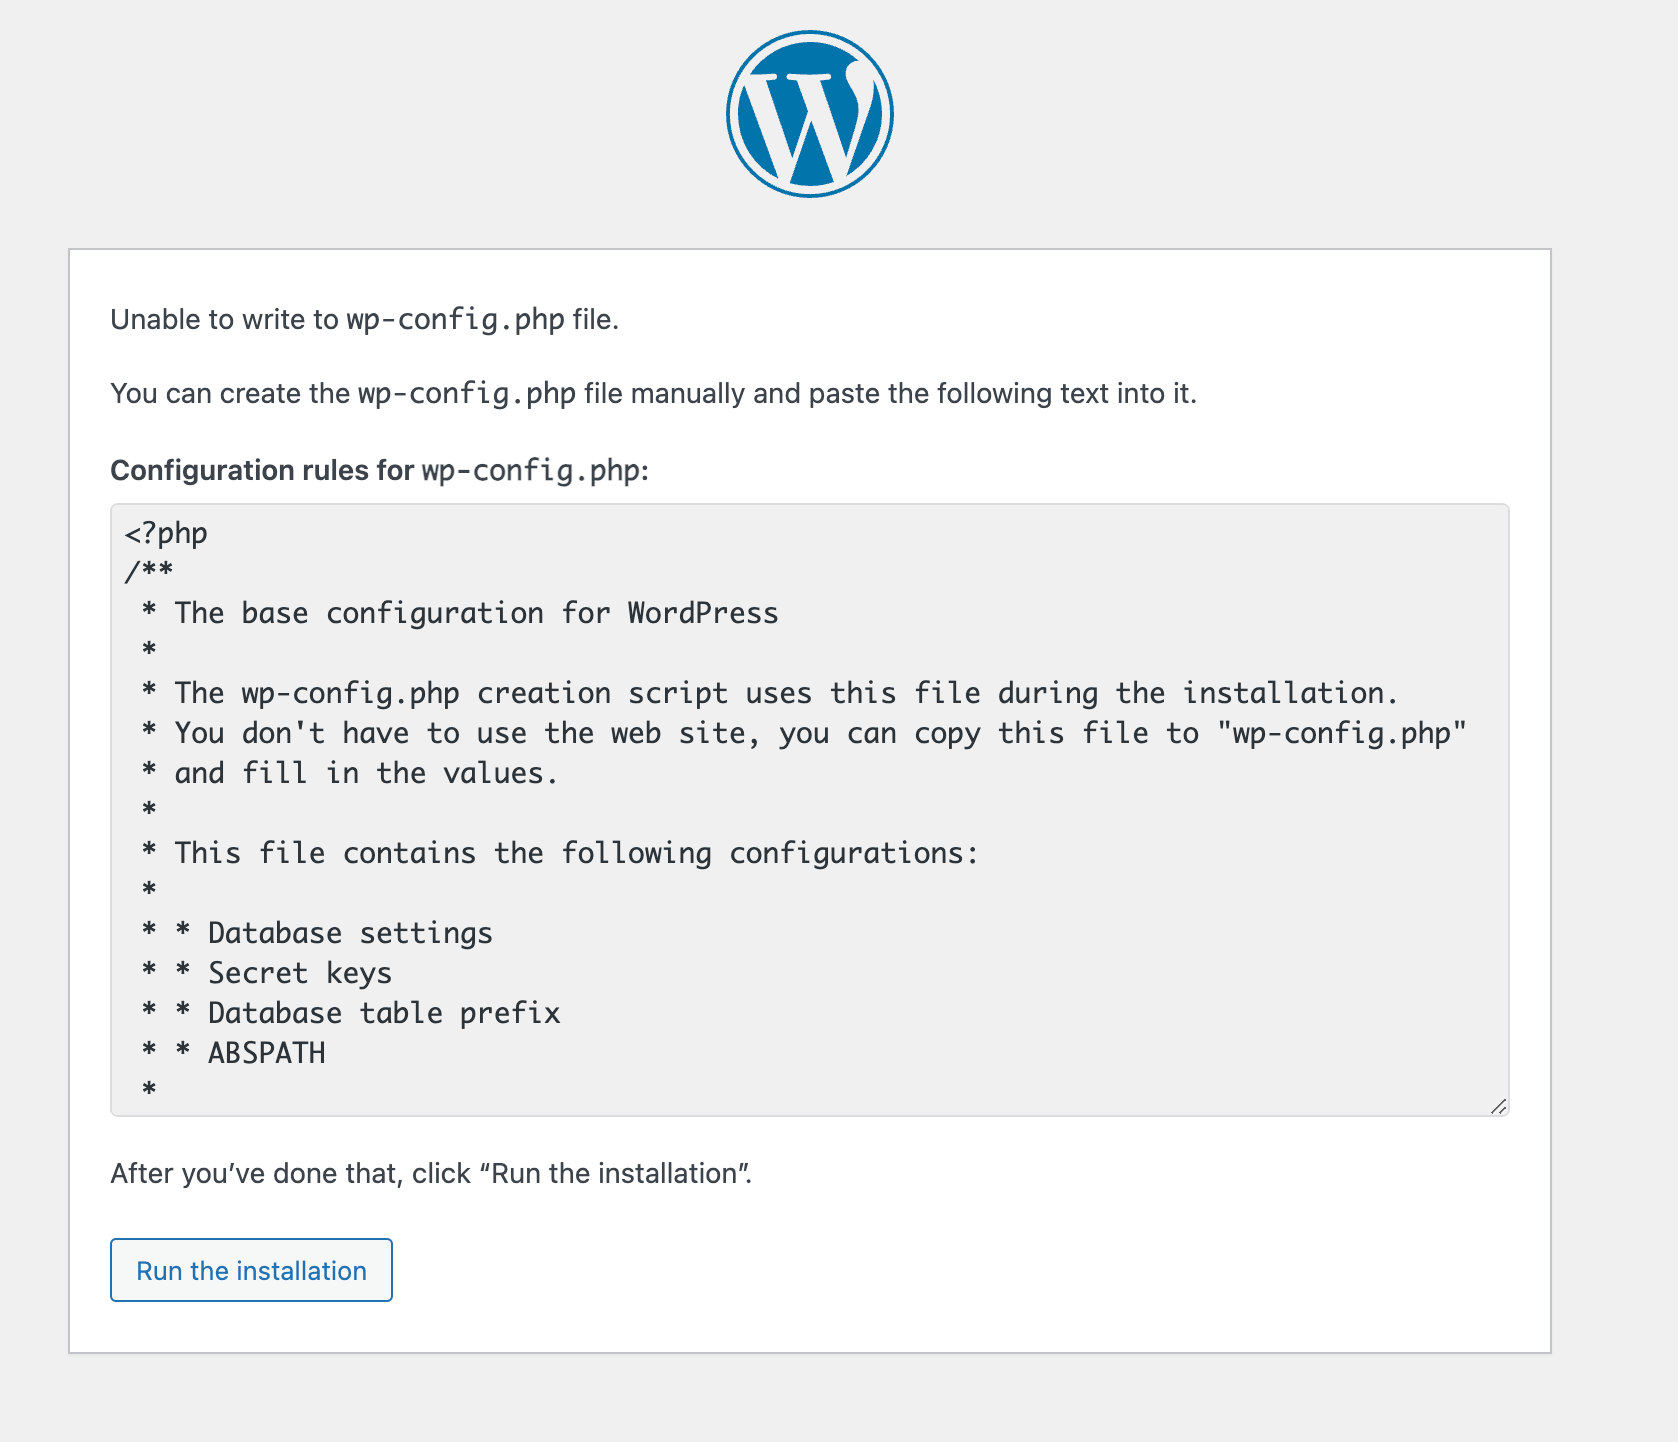
If this issue happens to you, it’s because the installer couldn’t find a file called “wp-config.php” which is the configuration file, you need to do the following in order to fix this issue:
- Copy the code it gives you.
- Open your project folder Applications > XAMPP > htdocs > ProjectName.
- Look for a file called wp-config-sample.php and edit it with a code editor (Visual Studio Code is an option).
- Replace all the code inside with the code you copied and then save the file.
- Once saved, rename the file to wp-config.php.
- Go back to the page and click on the “Run Installation” button.
Once that’s done, you will be taken to a screen where you need to fill information about your website, you can write anything you want there and then click on the “Install WordPress” button.
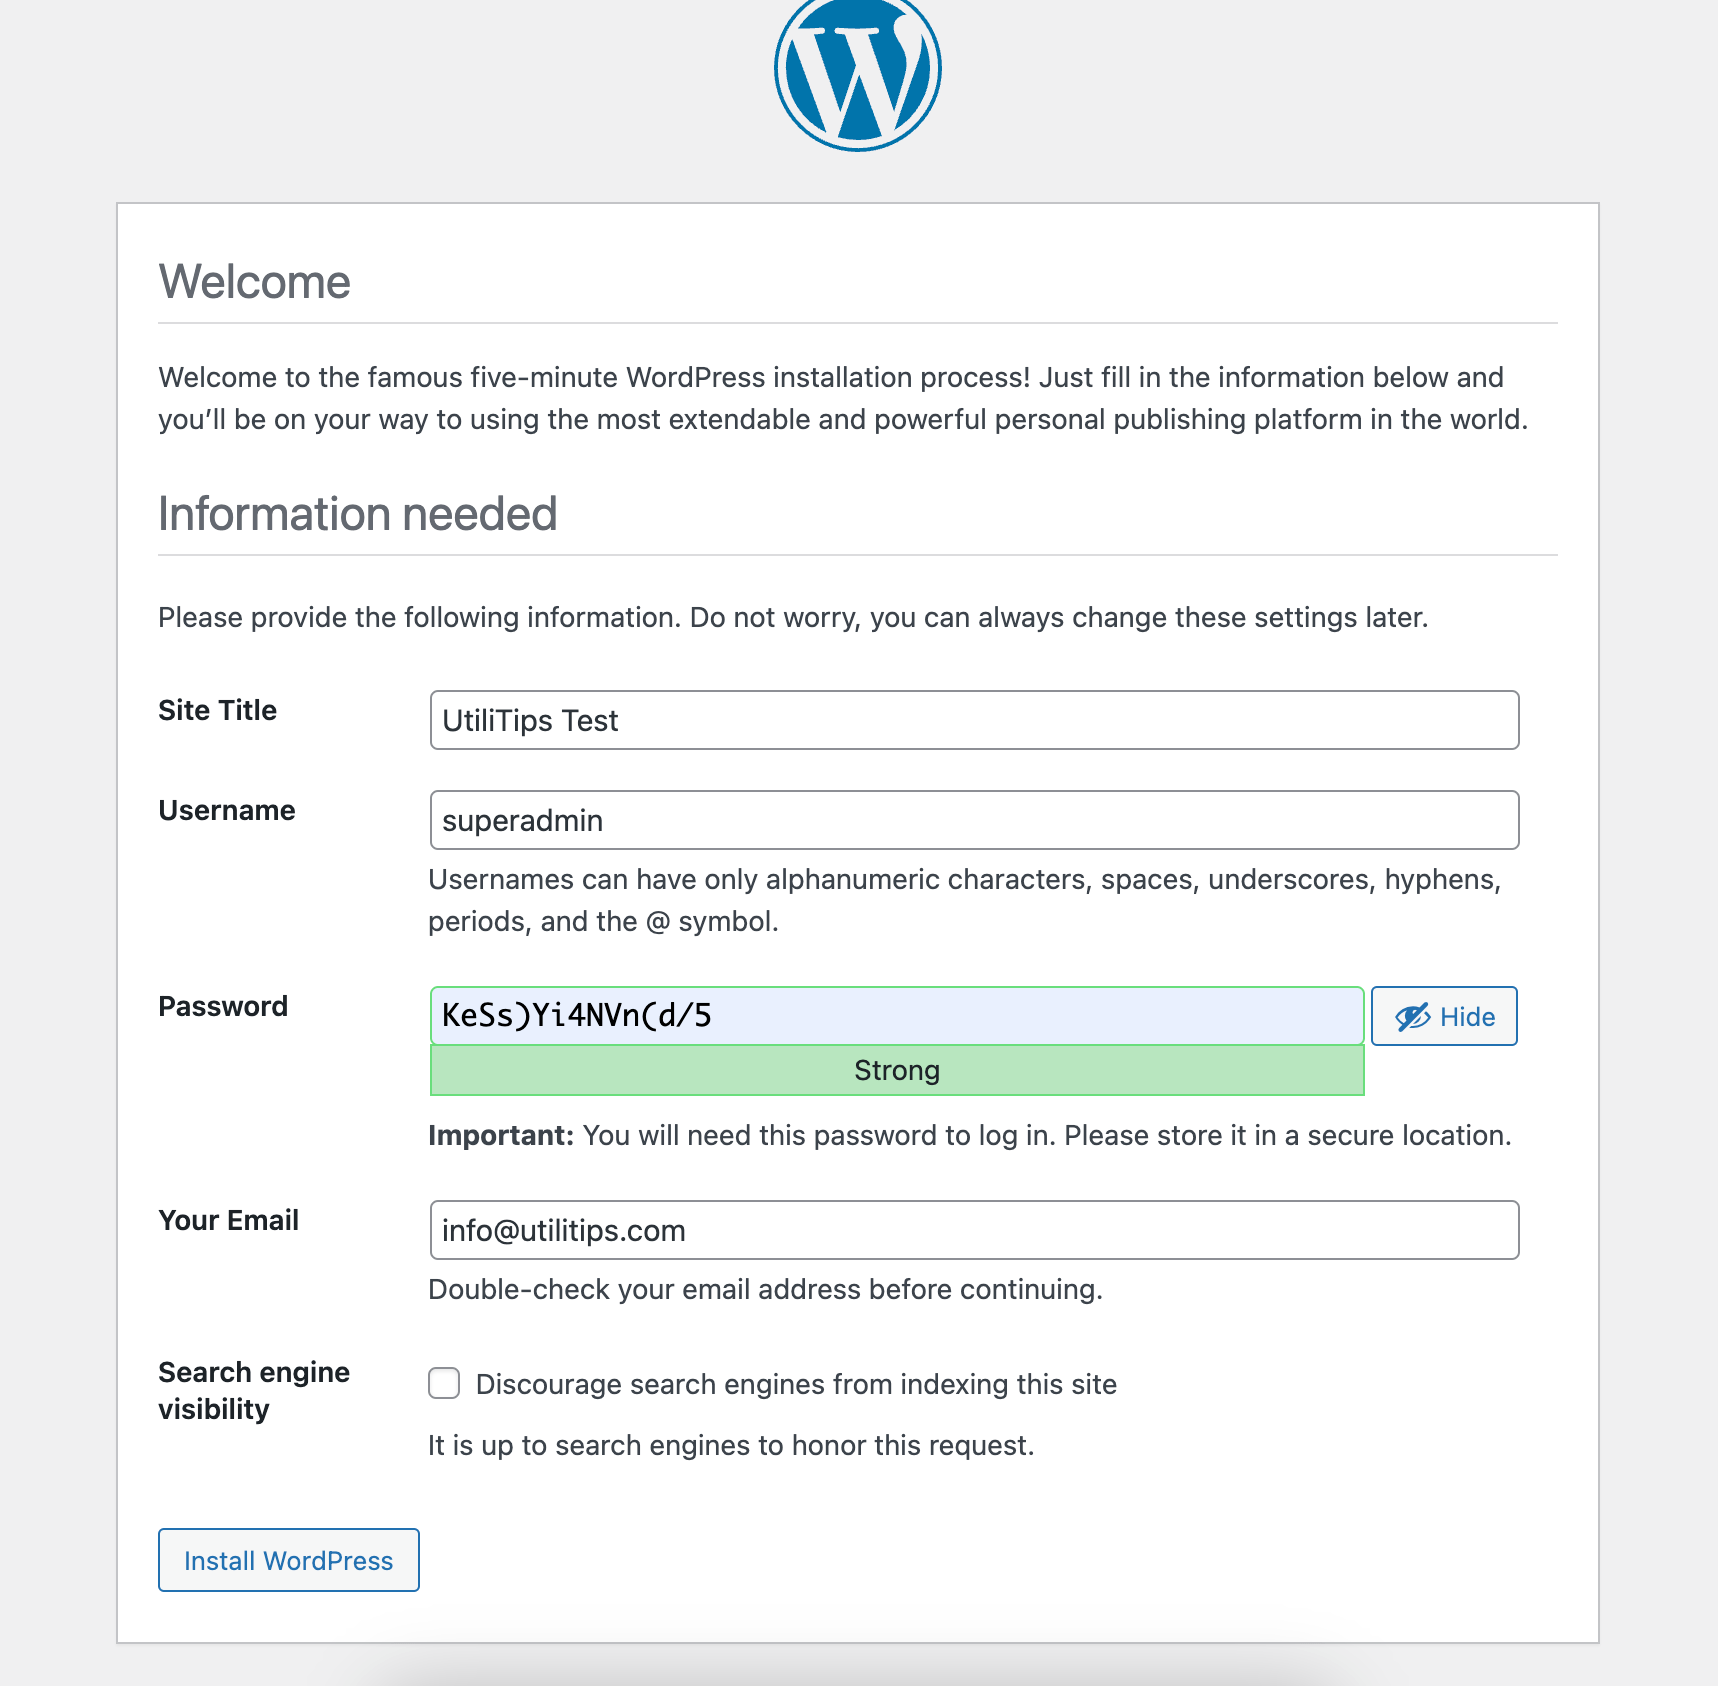
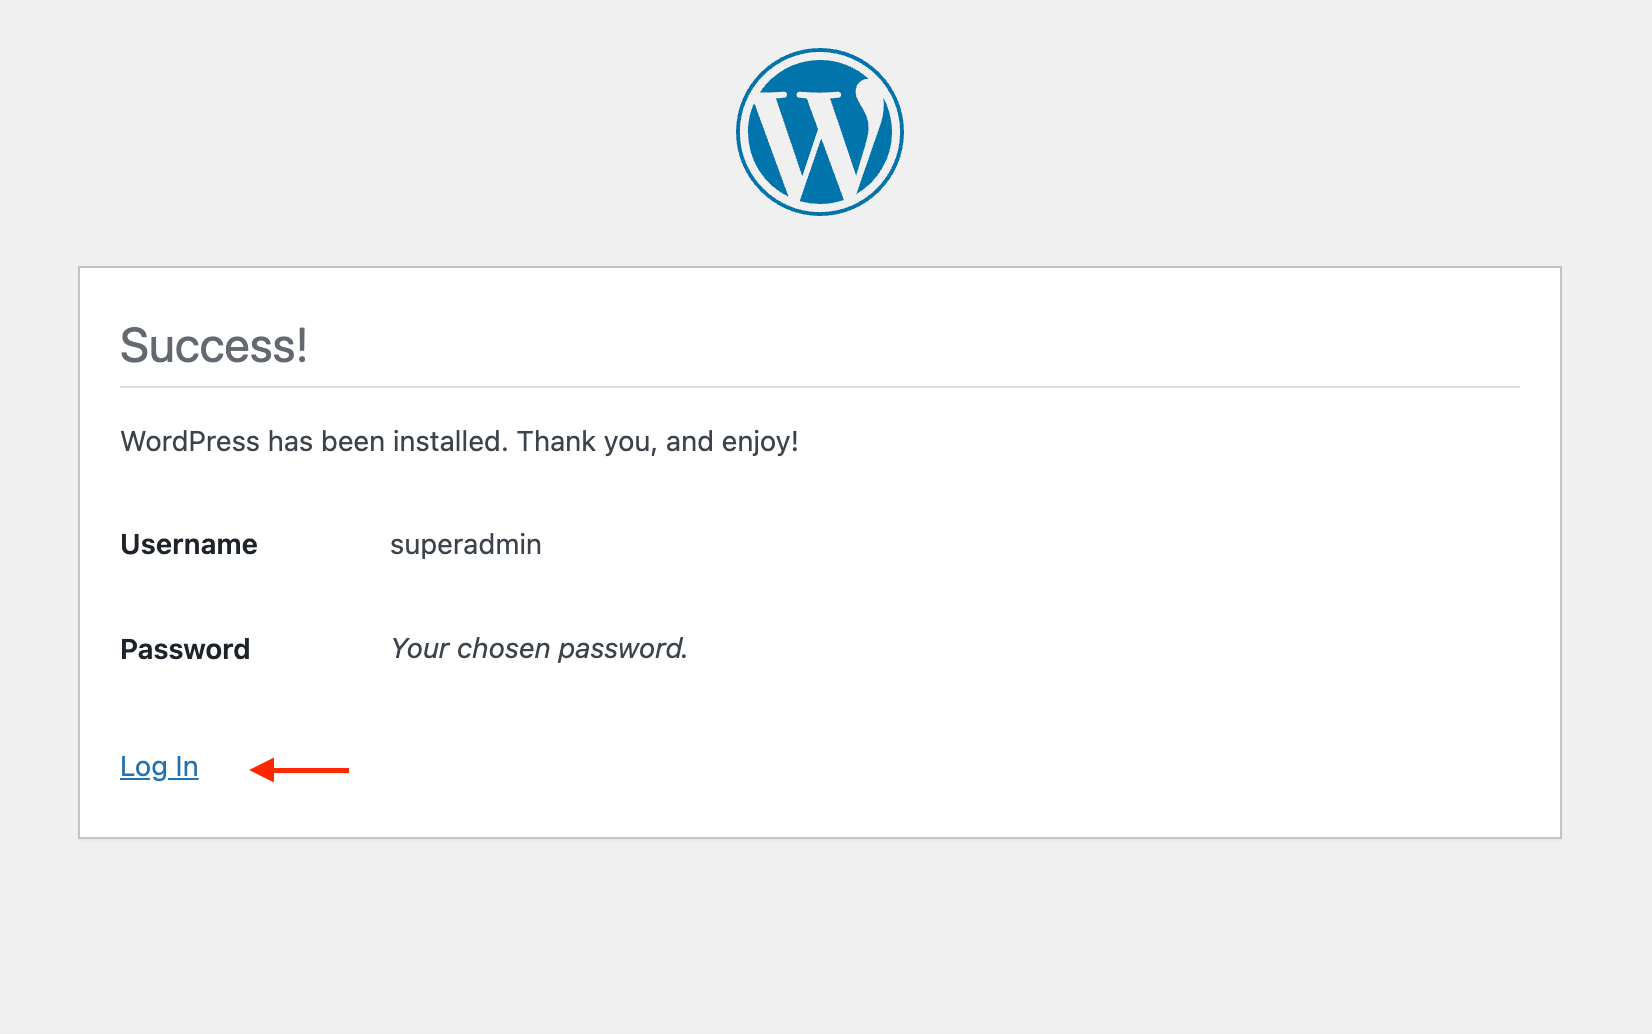
Congratulations, all you need to do now is click on “Log In” and enter your login information to start working on your website.